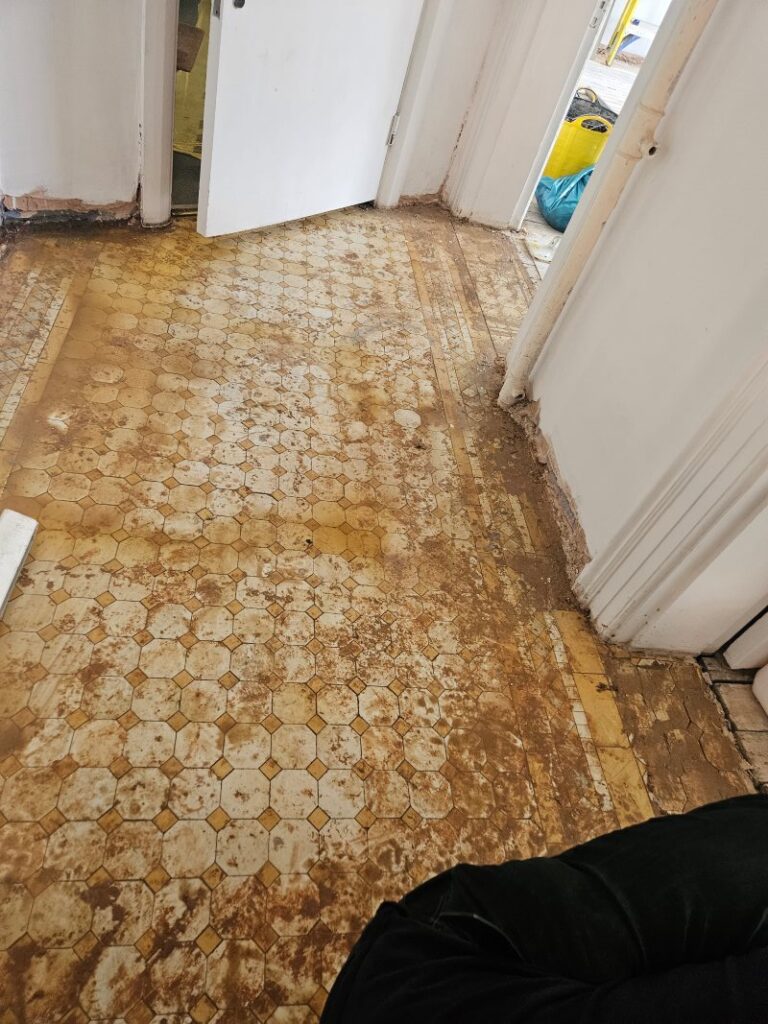
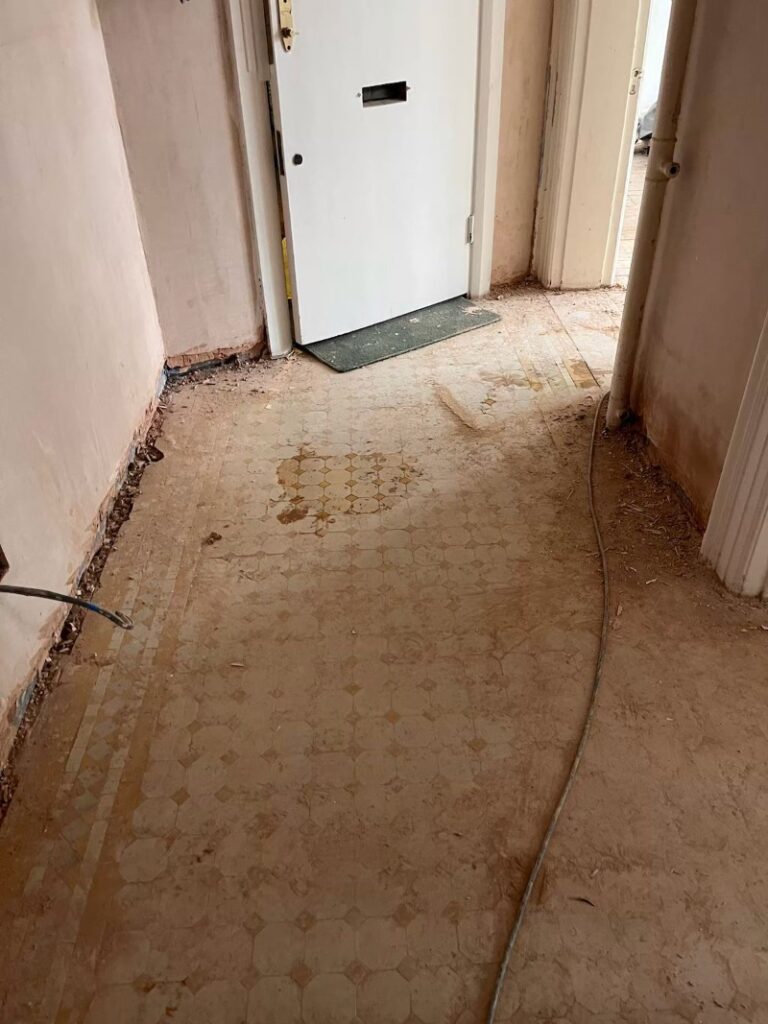
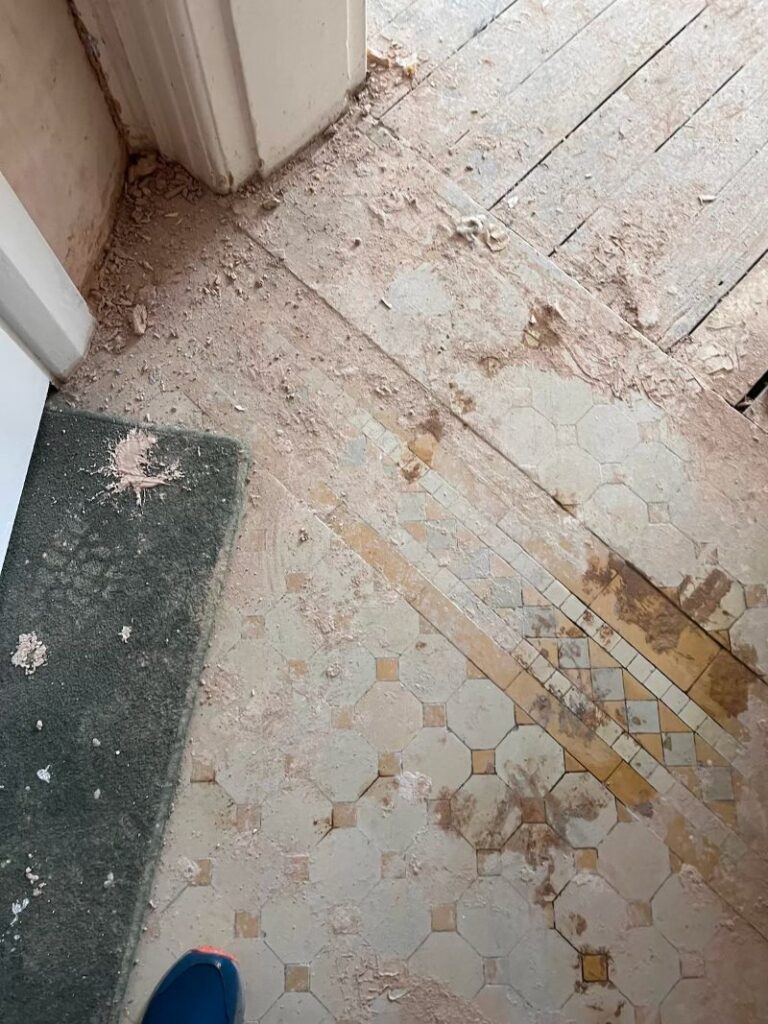
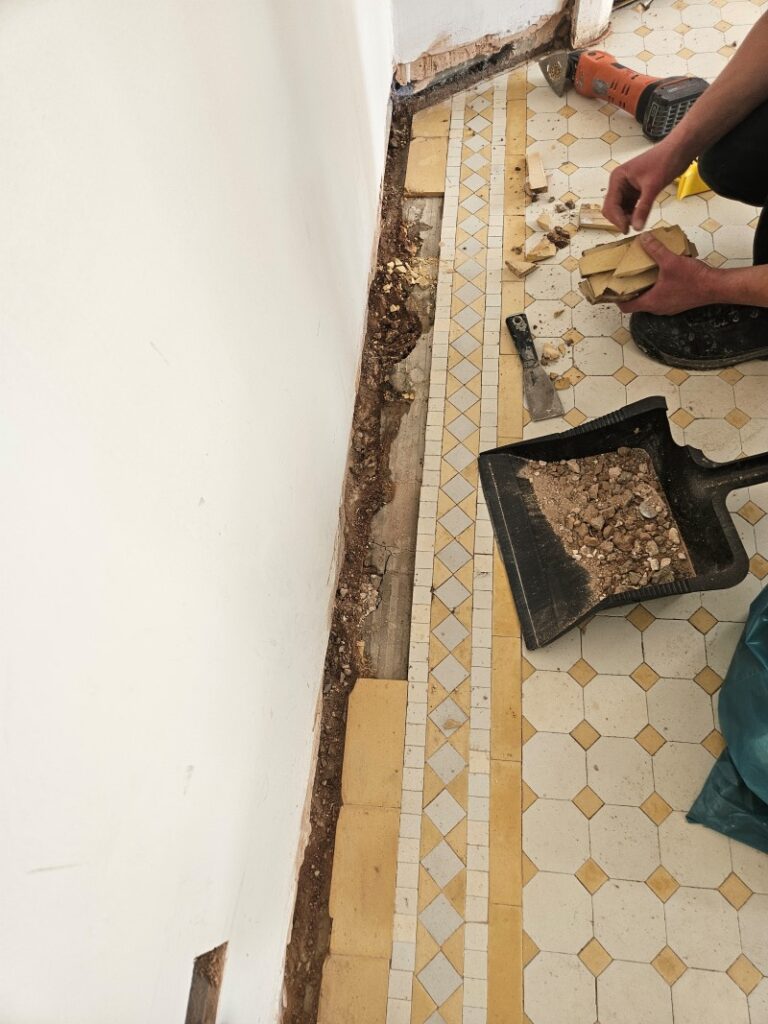
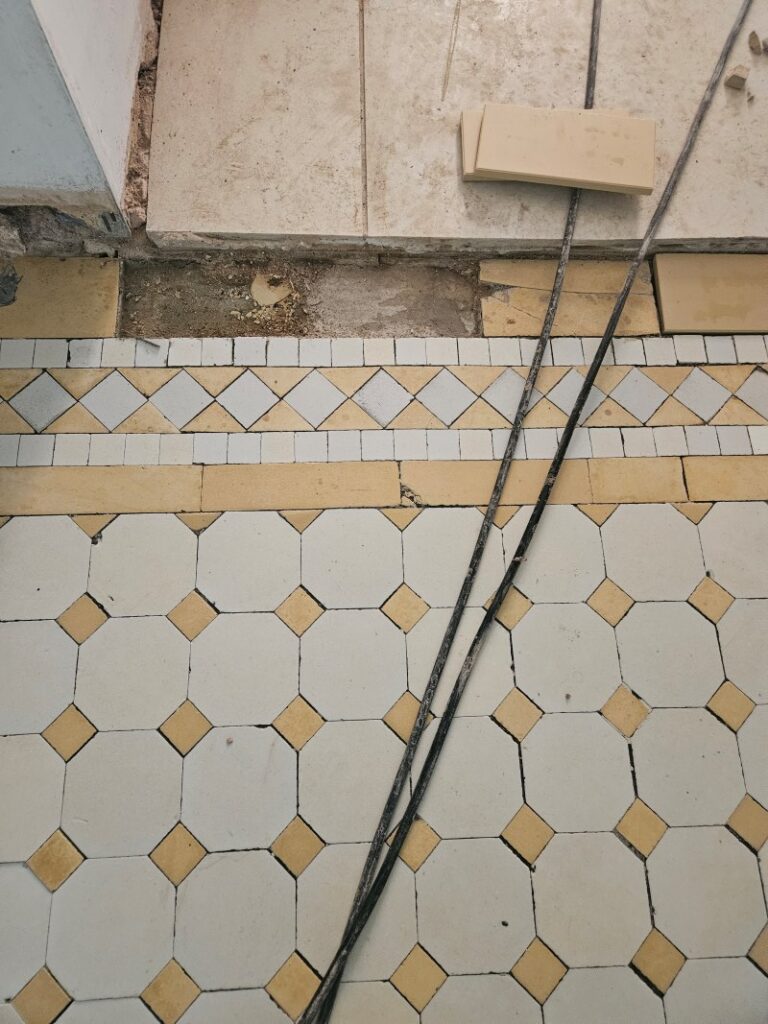
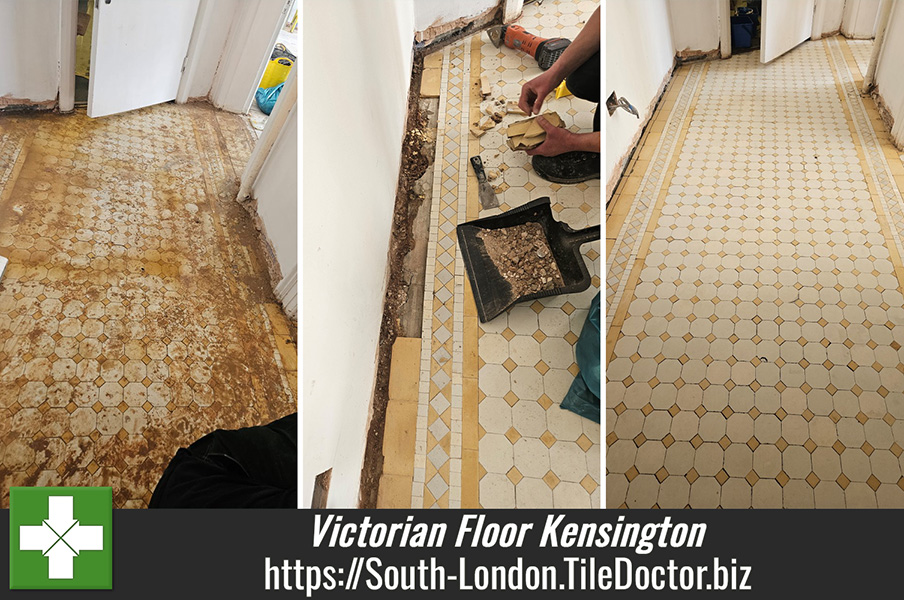
The photographs below are of a Victorian tiled floor at a property across the Thames in Kensington which as you can see was in quite a poor state, especially along the edges. The property was being renovated and the walls recently plastered following a rewire resulting in all sorts of building materials being trod into the tiles leaving them looking very neglected.
 |
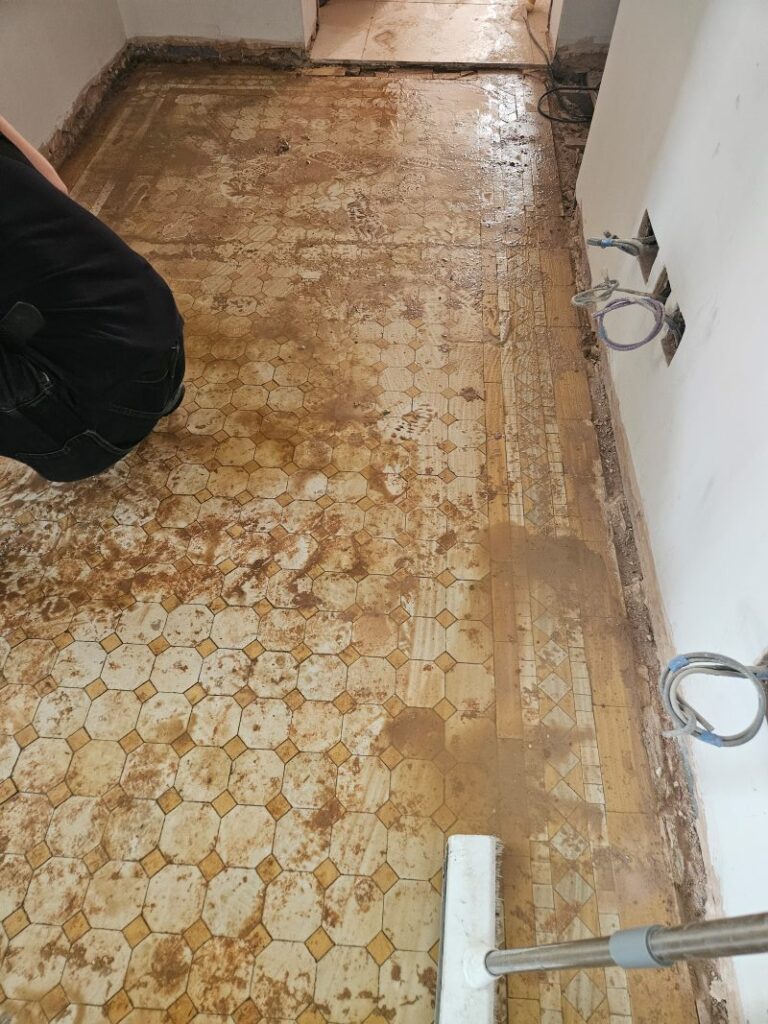 |
The biggest problem were the border tiles where many had become damaged and cracked over the years. It would be a straight-forward task to replace them however, and I was confident of finding matching replacements.
 |
 |
I worked out a quote for the work which would include replacing the damaged tiles, deep cleaning the floor and then sealing to protect it. The quote included sourcing replacement reproduction tiles for which there are several suppliers, and I was confident that after a clean and seal the new tiles would blend in well with the original.
Cleaning and Restoring a Victorian Tiled Hallway
The room was completely empty due to the house being renovated so I was able to crack straight on starting by giving the floor an initial clean using Tile Doctor Oxy-Gel. Normally I would do the repairs first but with the floor being so dirty I wanted to be sure I could see all the tiles that needed replacing.
Old Victorian floors don’t have the benefit of a damp proof membrane so it’s important to keep the use of water to a minimum and avoid the appearance of white efflorescent salts which can rise through the tile as it dries. The gel was applied neat to the Victorian tiles and allowed to soak in for about ten minutes before being worked in using a 200-Grit pad fitted to a rotary buffer. The combination of the coarse pad and the cleaning gel does a good job of bringing the dirt to the surface where it was then removed with a wet vacuum.
 |
 |
With the floor clean I set about removing the broken tiles which was done carefully to avoid disturbing more tiles than necessary. The rubble was removed, and the foundation was rebuilt with self-levelling compound to the correct level. Once that had set, the replacement tiles were shaped and secured in place with fresh adhesive and grout. When complete I left for the day to allow the repairs to set overnight.
The following day I completed the cleaning process using another gel product called Tile Doctor Acid Gel. The acidic nature of the product also neutralises any salts that may be present and then leaves a microscopic etch on the clay tiles which helps to achieve a better bond with the sealer. The gel was then rinsed off and extracted as before and the floor left to dry off overnight.
Sealing a Victorian Tiled Hallway
The next day we started sealing the floor with Tile Doctor Colour Grow. This is a fully breathable sealer which is an important feature when sealing old floors like this, it also contains a colour enhancer. The sealer protects the tiles from ingrained dirt ensuring it remains on the surface where it can be easily cleaned away.
 |
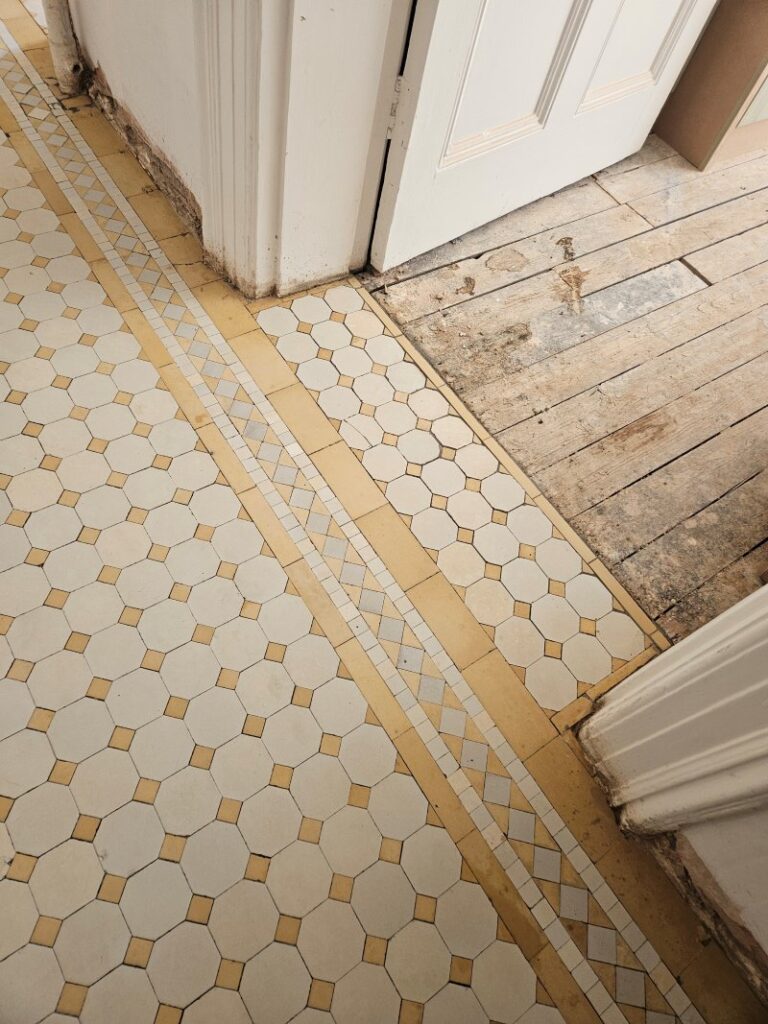 |
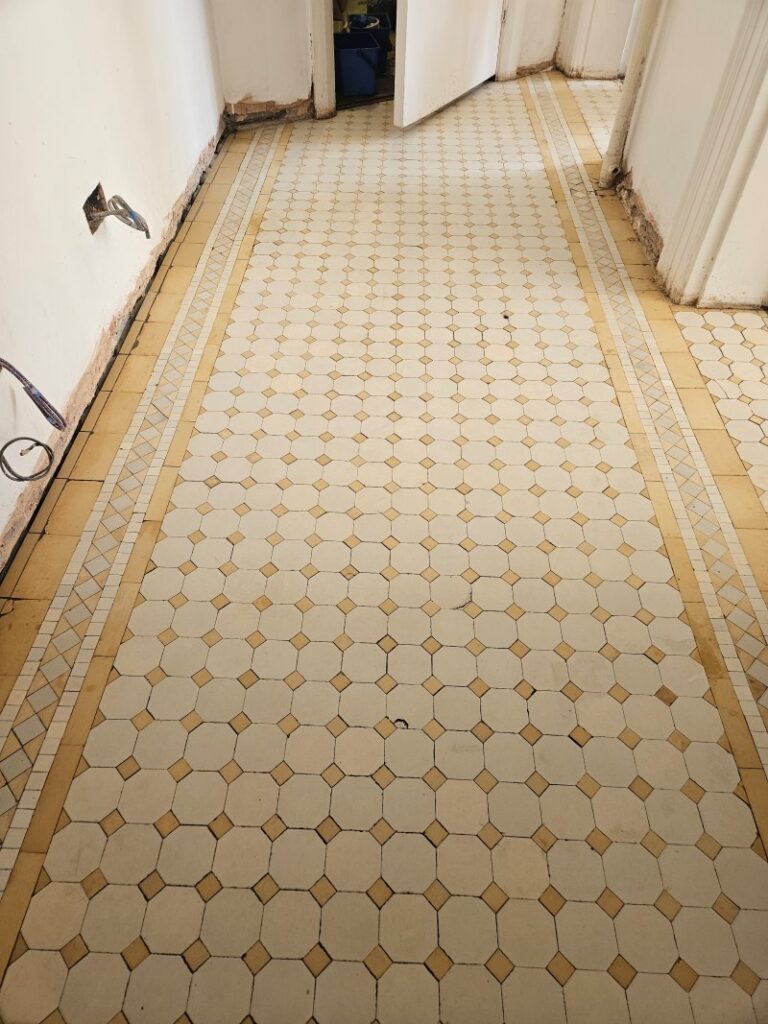
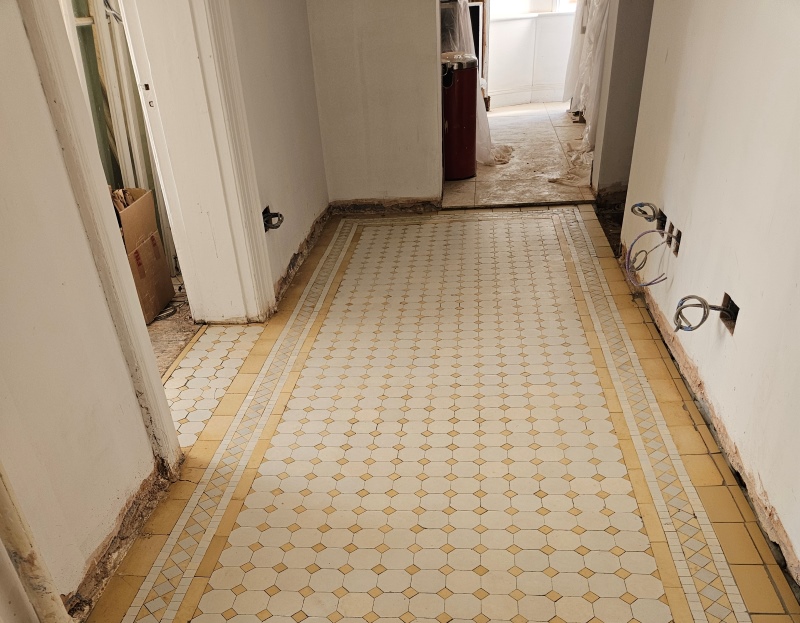
Once complete the floor was completely transformed and unrecognisable from before, hopefully the decorators who will be working on the property next will ensure it stays that way. For aftercare cleaning I recommended using Tile Doctor Neutral Tile Cleaner which is a mild yet effective tile cleaner that’s designed for use on sealed floors.

When cleaning tiles with a mop we recommend using two buckets, one containing a neutral pH cleaning fluid such as Tile Doctor Neutral Tile Cleaner or Stone Soap and the second where you rinse your mop afterwards, otherwise you will contaminate your cleaning fluid with dirt every time you rinse.