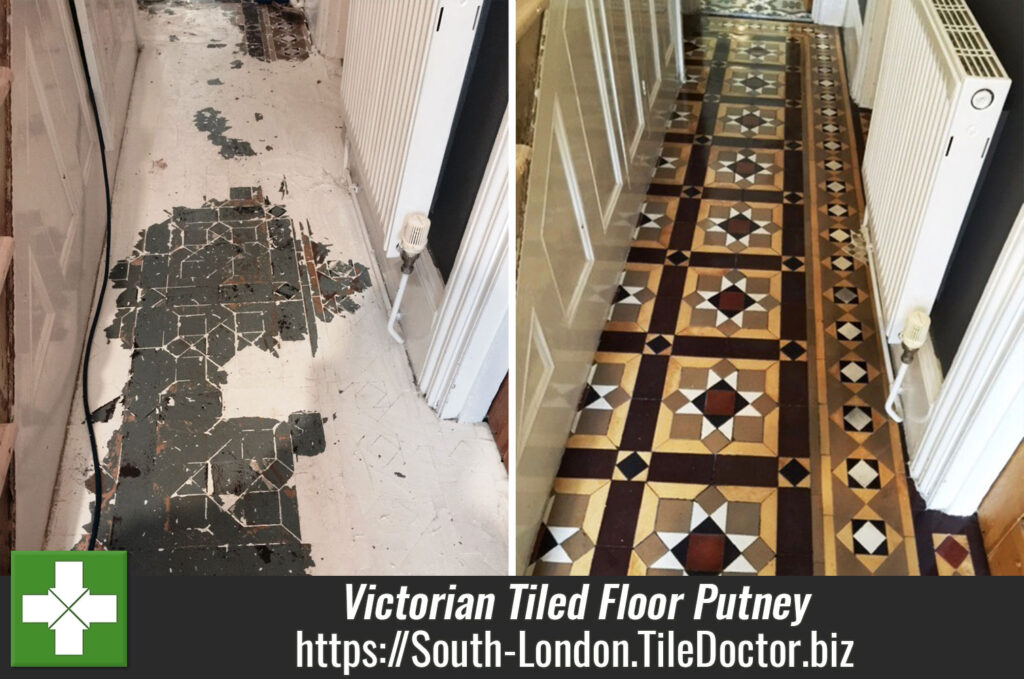
Renovating a Dirty Limestone Patio in Putney
This work was conducted earlier in the year when I was contacted by a previous client from Putney who needed help renovating their Limestone tiled patio. I usually work on indoor stone floors so I didn’t anticipate any issues apart from having to contend with the weather.

I went over to survey the patio and come up with a renovation plan. I could see the Patio was in good physical shape but it had a lot of green algae staining and was generally very dirty with ingrained dirt. After measuring up and working out a renovation plan I was able to email over a quote which was accepted and a date scheduled for the work to start.

Deep Cleaning a Limestone Patio
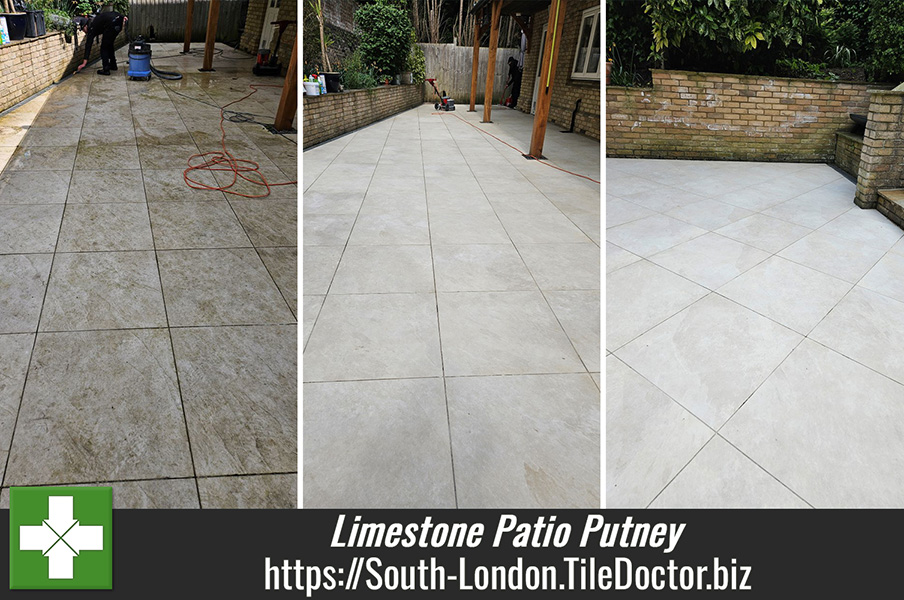
Work started by giving the whole area a thorough wash to clear any grit and general dirt using a pressure washer and extracting the slurry with a wet vacuum. It was a large area so the work was done in sections.
Working in sections again the next was to burnish the limestone starting with a coarse 400-grit diamond pad which is applied with water for lubrication. This coarse pad opens the pores in the stone allowing the ingrained dirt to be flushed out. The soiling was extracted with the wet vacuum and work progressed onto the next pads which are a finer 800 and 1500-grit. Again, water was used for lubrication and the soiling extracted after each pad was applied. These finer pads slowly close the pores in the stone and refine the appearance of the stone building up a lovely finish on the Limestone.

The next step was to clean the grout using a dilution of Tile Doctor Pro-Clean scrubbing them by hand with a stiff brush. The pads do a good job of cleaning the stone but can struggle to reach into the recesses of the grout line.
After another extraction with the wet vacuum the last pad in the set was applied to the patio as before which is a very fine 3500-grit that adds the final polish to the Limestone. This pad is applied dry with only a little water sprayed onto the tile.
Sealing a Limestone Patio
Once the patio was dry it was sealed using Tile Doctor Ultra-Seal which is a natural look sealer that will protect the stone from dirt becomes ingrained in the stone. The sealer soaks into the pores of the stone preventing dirt from residing there and keeping it on the surface where it can be easily rinsed away.

Once complete the patio looked like a new installation and the new sealer will help it stay that way for many years to come.

Professional Renovation of a Limestone Patio in London
Renovating a Dirty Limestone Patio in Putney Read More »