Porcelain Tile Cleaning

Welcome to my Work History archive where you will find detailed examples of the cleaning and renovation of Porcelain tiles carried out in South London

Cleaning and Polishing Porcelain tiles

Harder than ceramic tiles modern production methods have allowed a growth in the availability and design of Porcelain tiles which are known for their durability and water resistance making them a popular option for floors. Like Ceramic, Porcelain tiles are generally very easy to clean and need little maintenance however some are micro porous and do require sealing, you will need to ask you supplier which type you have installed as it can be very difficult to tell.

If your Porcelain tiles are of the micro porous variety then they will need to be sealed to avoid a build-up of dirt in the pores of the tile. For this we recommend Tile Doctor Ultra-Seal which works by impregnating the pores to ensure dirt can’t become ingrained there without changing the appearance of the tile itself.

Apart from sealing the biggest issues with this type of tile are usually grout related. Either the adjacent grout discolours over time or the tiler has been unable to remove excess grout from the surface of the tile, an issue known as Grout Haze or Grout Smears. Modern grouts can be particularly susceptible to the grout haze issue due to shorter working times and polymers in the grout which make it difficult to remove once dry. If this sounds familiar do contact us so we can advise you on how best to remove it.

Below you will find detailed examples of work we have carried out in the past, it should give you some idea of what’s involved and what can be achieved with the right techniques and products.


Porcelain Tile Bathroom Grout Cleaning Wandsworth

Porcelain Tiled Bathroom Grout Renovation in Wandsworth

This is a great example of how easy it is to improve the appearance of a tiled bathroom. In this case the property was in Wandsworth and the tiles were Porcelain. My client had originally asked if I could re-grout their bathroom tiles which included the shower, wall and floor tiles in a room that was around 5sqm.

Porcelain Bathroom Tile Before Grout Renovation Wandsworth

We discussed the bathroom, and I pointed out that if we re-grout the tiles it would only get grubby again at some point. The problem is that the grout is cementitious which leaves it rough and attracts dirt easily. I recommended cleaning up the grout and then applying a grout colourant which would seal the grout in making it much easier to clean. I also offered to remove the silicone sealant between the edges of the bath and tiles. Unfortunately, once mould gets into the silicone, you’re fighting a losing battle, and it is best to just replace it.

Re grouting a Porcelain Tiled Bathroom Floor

Before colouring the grout, it needs to be prepared with an acidic cleaner that will not only remove any dirt but also etch the surface of the grout to improve the bond. Tile Doctor Pre-Treat Cleaner is the product we use for this purpose, but I decided in this case to go with a different product as the floor tiles had some old silicone on them which had been left to dry out. To resolve this, I used a different product in the range called Tile Doctor Grout Clean-Up which is primarily designed for removing grout haze.
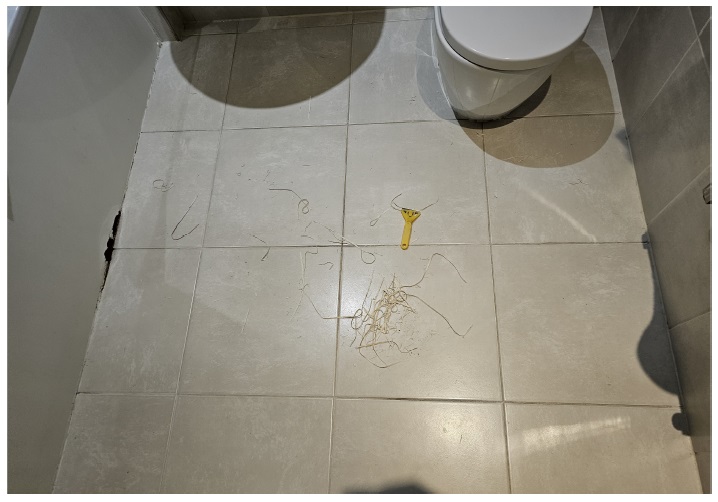
Porcelain Bathroom Tile During Grout Renovation Wandsworth

It was only a small area, so I worked the Tile Doctor Grout Clean-Up into the tiles and grout by hand and then rinsed it off with water and extracted with a wet vacuum. The grout was then dried, and I started applying the Tile Doctor Grout Colourant in white with a small brush wiping off the excess as I went. The colourant is available in a range of eleven colours so there is usually a match for most situations. The colourant adds an epoxy barrier over the grout; this then prevents dirt from going into the grout line and means the floor is much easier to keep clean.

The last step in the renovation involved carefully stripping out the old silicone and replacing it with a new anti-mould variety. This last step really finished off the bathroom giving the impression it was a new installation.

My clients were very happy with the result, the bathroom was transformed, and they were relieved that the problem was solved so easily.
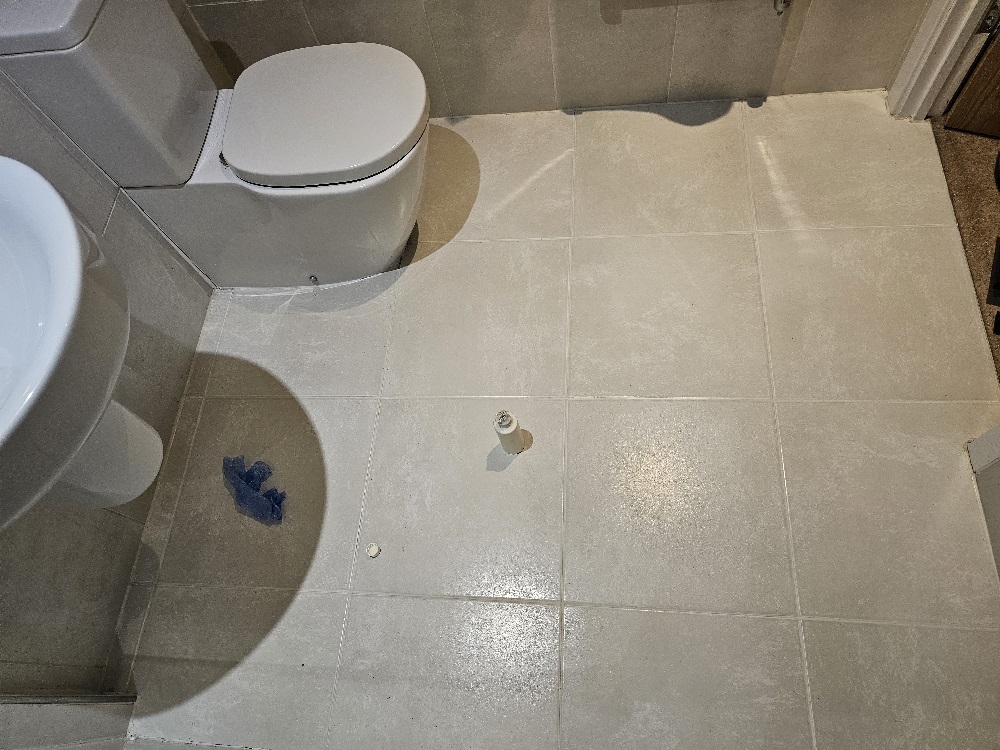
Porcelain Bathroom Tile After Grout Renovation Wandsworth

For aftercare cleaning I recommended regular use of Tile Doctor Neutral Tile Cleaner which is a mild yet effective tile and grout cleaning product that would help keep the bathroom looking good going forward.


Professional Restoration of a Porcelain Tiled Bathroom Grout in South London

Porcelain Tiled Bathroom Grout Renovation in Wandsworth Read More »

Bathroom Floor Grout Cleaning Colouring Gipsy Hill

Bathroom Floor Tile Grout Renovated in Gipsy Hill SE19

The Grout on this tiled floor in the bathroom of a property near Gipsy Hill SE19 was as you can see from the photo below in a bit of state. Originally White the colour of the grout had darkened to black in numerous areas and was bringing down the appearance of what was a lovely bathroom.

The floor tiles were Travertine effect Ceramic or Porcelain and as you would expect with tiles of this nature in very good condition. Ceramic and Porcelain tiles are not porous and so very easy to maintain, however what tends to happen is the dirt is washed off the tiles straight into the adjacent grout line where due to the rough nature of the grout it gets stuck.

Bathroom Floor Grout Before Cleaning Gipsy Hill

My renovation plan for tackling dirty grout is to start with a strong grout cleaner like Tile Doctor Pro-Clean and if the staining is still evident apply a Grout Colourant. I discussed this plan with owner of the property who were happy that one way or another the problem was about to be resolved.

Cleaning a Natural Black Ceramic Tiled Bathroom Floor

The first step in renovating this floor was to tackle the grout which was clearly the biggest issue with this floor. This work started by applying a strong dilution of Tile Doctor Pro-Clean along the grout lines and then waiting for about ten minutes before scrubbing it in with a wire brush. I also used a 6-inch Black scrubbing pad fitted to a hand-held polisher to clean the tiles which as mentioned earlier only needed a light clean. The floor was then rinsed with water and then dried with a wet vacuum to remove the excess water and slurry from the cleaning.

The grout responded well to the treatment but unfortunately the staining was simply too deeply seated to make it look new again so I decided to adopt plan B and apply a White Grout Colourant. These colourants have the added advantage of sealing in the grout and are very easy to clean.

The grout was force dried and then once I was happy it was dry enough, I started the process of applying the grout colourant to the grout lines. Grout Colouring is a straightforward and involves using a small brush to paint the colourant onto the grout and then wiping the excess off the tile as you go. We find a wet wipe works well for this. Two coats of Grout Colourant were applied.

Bathroom Floor Grout After Cleaning Colouring Gipsy Hill

Whilst that was drying, I stripped out the silicone sealant around the edges of the bathroom and replaced with new. This last step really finished off the transformation and it would have been obvious if I had missed it.

Once finished the floor looked like a new installation and the Grout Colourant should keep it looking that way for many years to come.


Professional Bathroom Floor Grout Cleaning and Colouring in South London

Bathroom Floor Tile Grout Renovated in Gipsy Hill SE19 Read More »

Removing Limescale from Porcelain Swimming Pool tiles in Oxshott

Removing Limescale from Porcelain Swimming Pool tiles in Oxshott

The owner of this swimming pool at a large residence in the suburban village of Oxshott had put the property on the market and naturally wanted the pool area to look its best. The pool was surrounded by Porcelain tiles which are very resilient and generally a good choice for a swimming pool surround, additionally the slate effect tiles in this post had a riven surface which would make them less slippery than the highly polished variety. The chemicals used in swimming pools however are quite strong and I suspect this has contributed to the build-up of Limescale on the surface of the tiles.

Cleaning Porcelain Tiles

The first job was to give the tiles a deep clean and this was done by scrubbing in Tile Doctor Pro-Clean diluted 1 part cleaner to four parts hot water using a black scrubbing pad fitted to a rotary machine. Once scrubbed the soiled cleaning solution was removed using a wet vacuum and the tiles given a thorough rinse. There were a lot of tiles to clean and naturally care has to be taken to avoid getting any cleaning solution in the pool.

Porcelain Pool Surround Oxshott Before Cleaning Porcelain Pool Surround Oxshott Before Cleaning

After rinsing the tiles were dried with the assistance of an air mover so we could get an idea of what other remedial work would be required and in this case it became clear where the areas with Limescale staining were.

Porcelain Pool Surround Oxshott During Cleaning

Removing Limescale from Porcelain Tiles

To remove the Limescale each stain was spot treated using Tile Doctor Grout Clean-up which is a strong acid based cleaning product normally used to remove grout smears from tiles but also equally useful at dealing with mineral deposits such as Limescale. You have to be very careful with acids on tiles, especially natural stone so once it had done its job the tiles were thoroughly rinsed and the whole floor rinsed again once we have completed everything.

Porcelain Pool Surround Oxshott After Cleaning Porcelain Pool Surround Oxshott After Cleaning

When we had finished the client couldn’t believe the transformation we have managed to achieve.

Porcelain Pool Surround Oxshott Before And After
 

Deep cleaning Porcelain pool surround tiles in OxShott, Surrey

Removing Limescale from Porcelain Swimming Pool tiles in Oxshott Read More »

Applying Anti Slip Treatment to Porcelain tiles in Wimbledon Office

Applying Anti Slip Treatment to Porcelain tiles in Wimbledon Office

We were contacted by a builder who had recently laid Porcelain Tiles in an office reception in Wimbledon. Although he has laid this type of tile in various art galleries around London without problem, in this particular lobby which is situated next to a shopping centre the tiles were extremely slippery and the facilities manager wanted the tiles changed at the expense of the builder.

Antislip Application Porcelain Tile Wimbledon
Obviously this would have been an expensive option and so the builder contacted Tile Doctor for help. Initially he had considered having a member of his team apply the treatment however he realised that as a Tile Doctor applicator we had been trained to apply the treatment properly and this gave the facilities manager confidence it would have been applied to the correct standard so we were awarded the work and asked to carry it out on a Sunday when the building would be empty.

Antislip Application Porcelain Tile Wimbledon

Applying the Anti-Slip Treatment

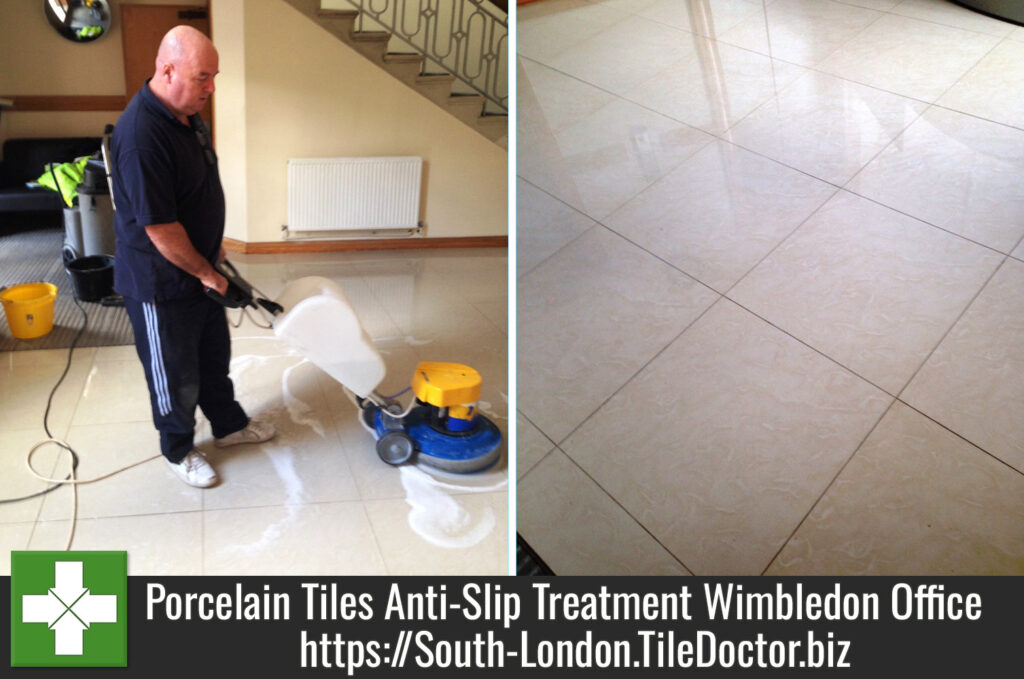
We arrived at the agreed time and were let in by the shopping centre security team. The area we were treating was around 25m2 so decided to work in 5m2 sections first cleaning the tile using the first stage Ant Slip product worked into the tile with a rotary floor machine fitted with a polypropylene brush head and then removing with a wet vacuum followed by rinsing with clean water.

We carried on with this process until the whole floor was done and let it dry before going onto the next stage to apply the Tile Doctor Anti slip (stage two) and leaving for between 3 to 5 minutes before applying the stage three which locks in the Anti Slip.

Antislip Porcelain Tile Wimbledon
The Anti Slip product is invisible to the eye however it’s very easy to test it’s been applied, all you need to do is wet the tile as the product only activates when it’s wet.

Antislip Porcelain Tile Wimbledon
When we had finished the whole floor we then tested it again just to make sure that everything worked well we cleared away all the tools making sure we left the area tidy and safe and locked the building up.

The Job took us one night and the customer is now recommending us to all other sites that have had these tiles fitted.

Preventing slips and trips on Porcelain Tile in a Wimbledon Office

Applying Anti Slip Treatment to Porcelain tiles in Wimbledon Office Read More »

Applying Anti Slip to Shiny Slippery Porcelain Tiles in Ashtead

Applying Ant-Slip to a shiny Porcelain Patio

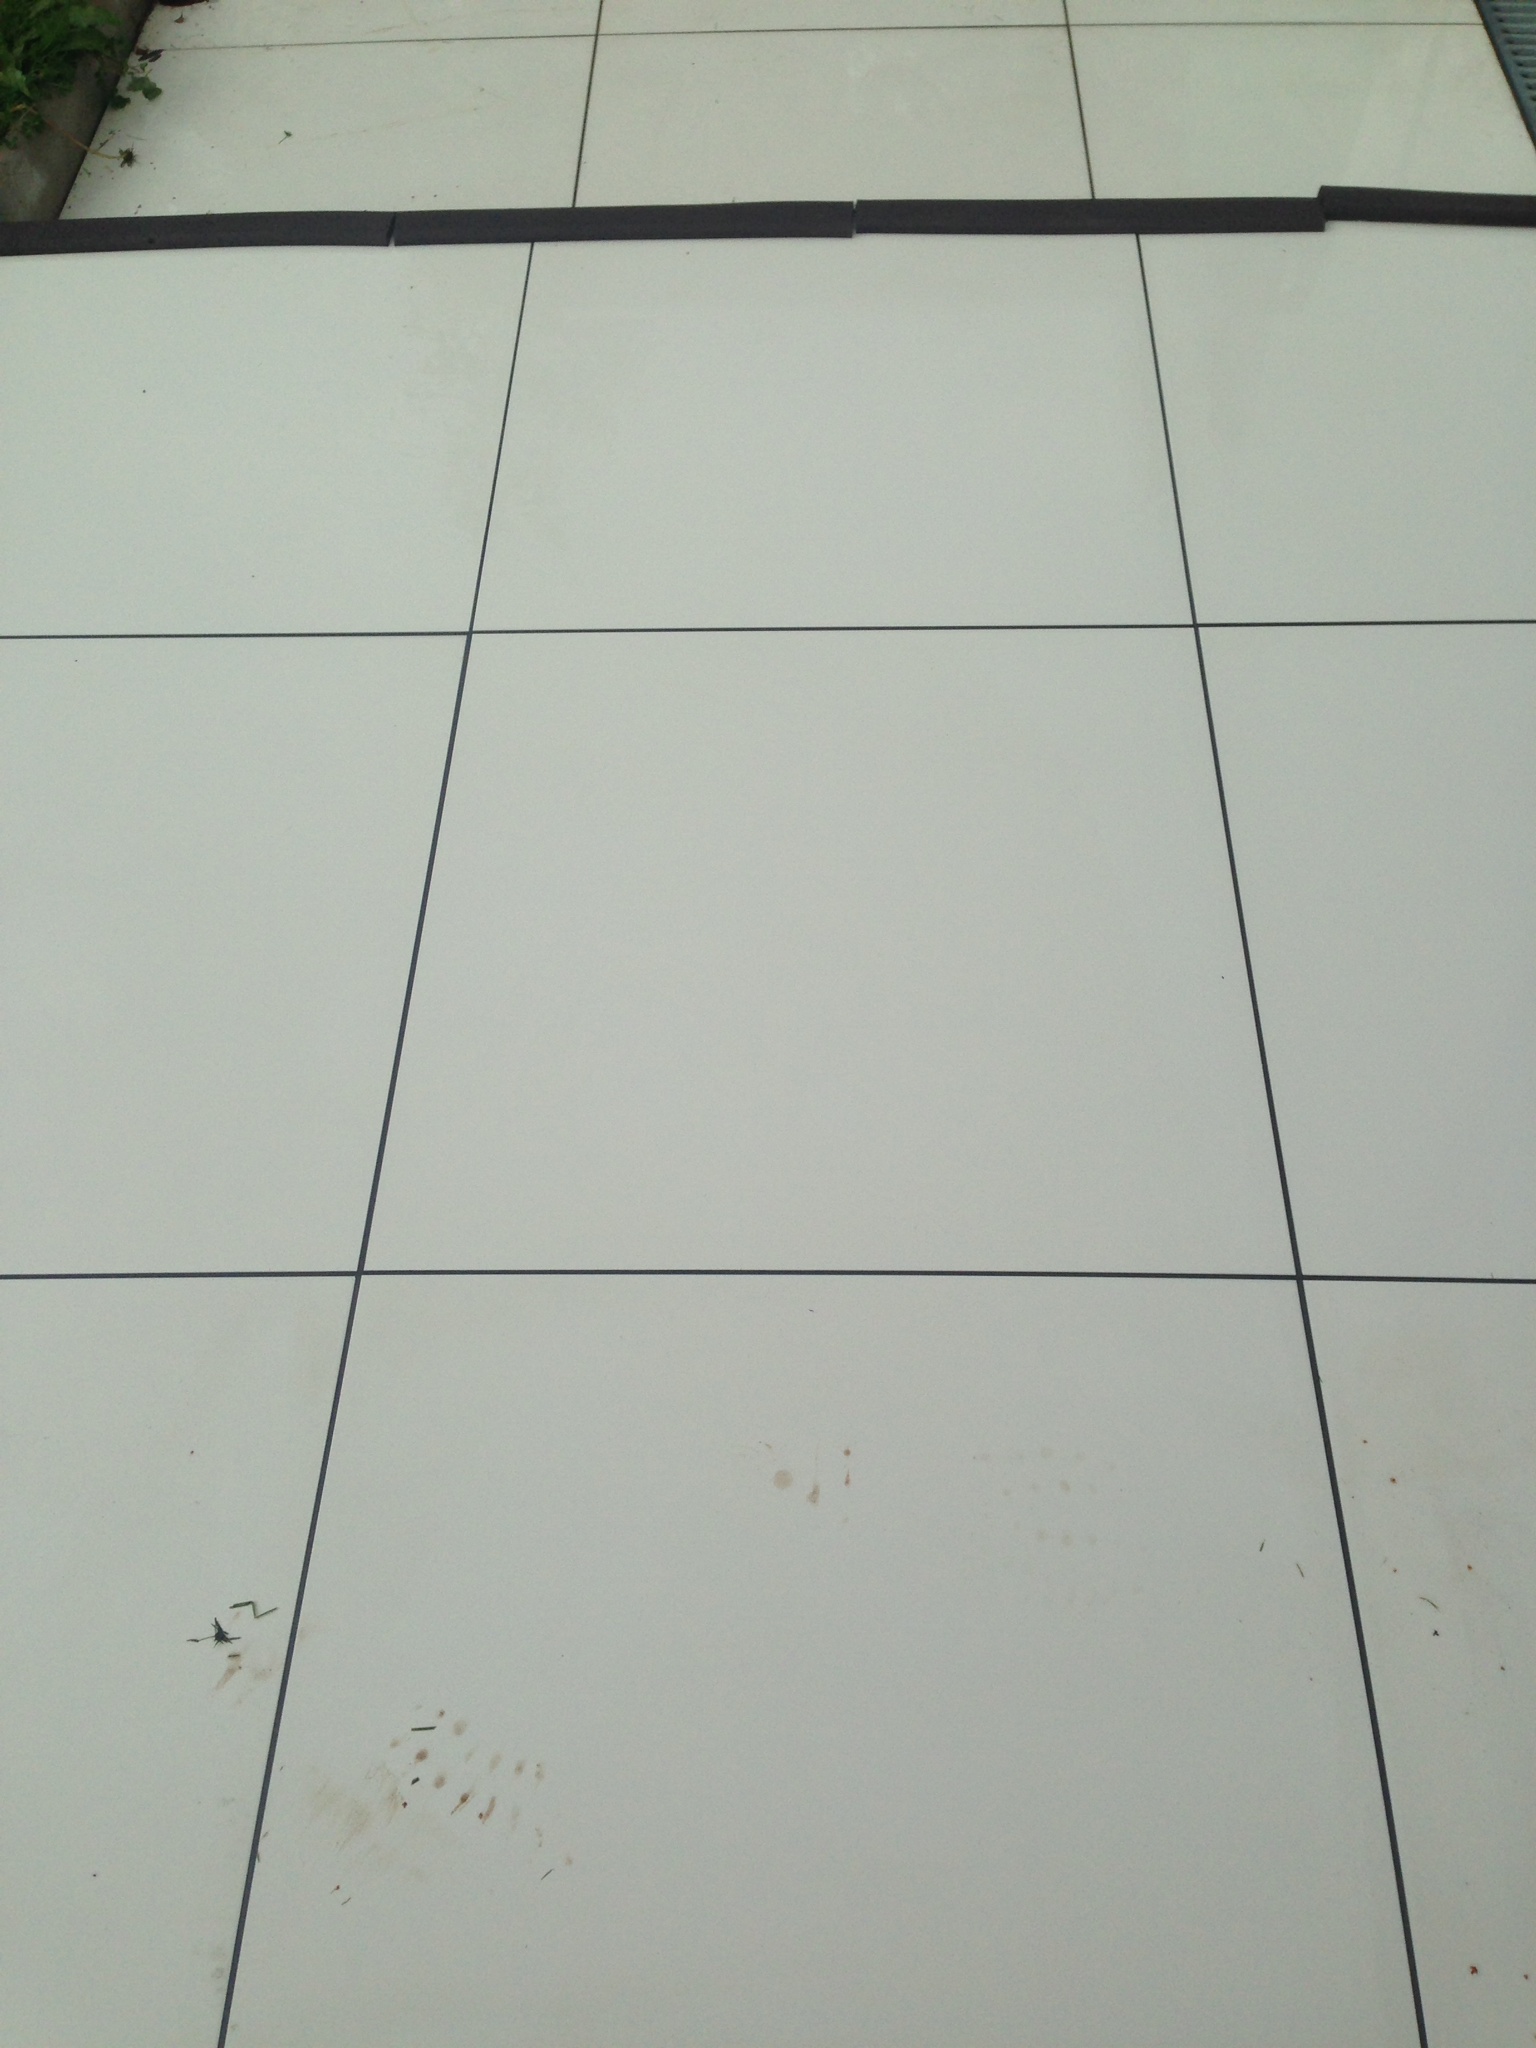
Last week we were asked to carry out a demonstration of our AntiSlip Treatment for a lady in Ashtead Surrey. She has white shiny Porcelain tiles laid on a patio area and when they get wet they are really slippery and dangerous and she was especially concerned about young children hurting themselves. We carried out a test patch for her and asked her to see if she could slip, not only did she try, but her gran and mother-in-law also tried and were extremely impressed. I left her with our quotation so she could discuss it with her husband. The next day I received a call asking me to go ahead and carry out the works.

Applying the Anti-Slip Solution

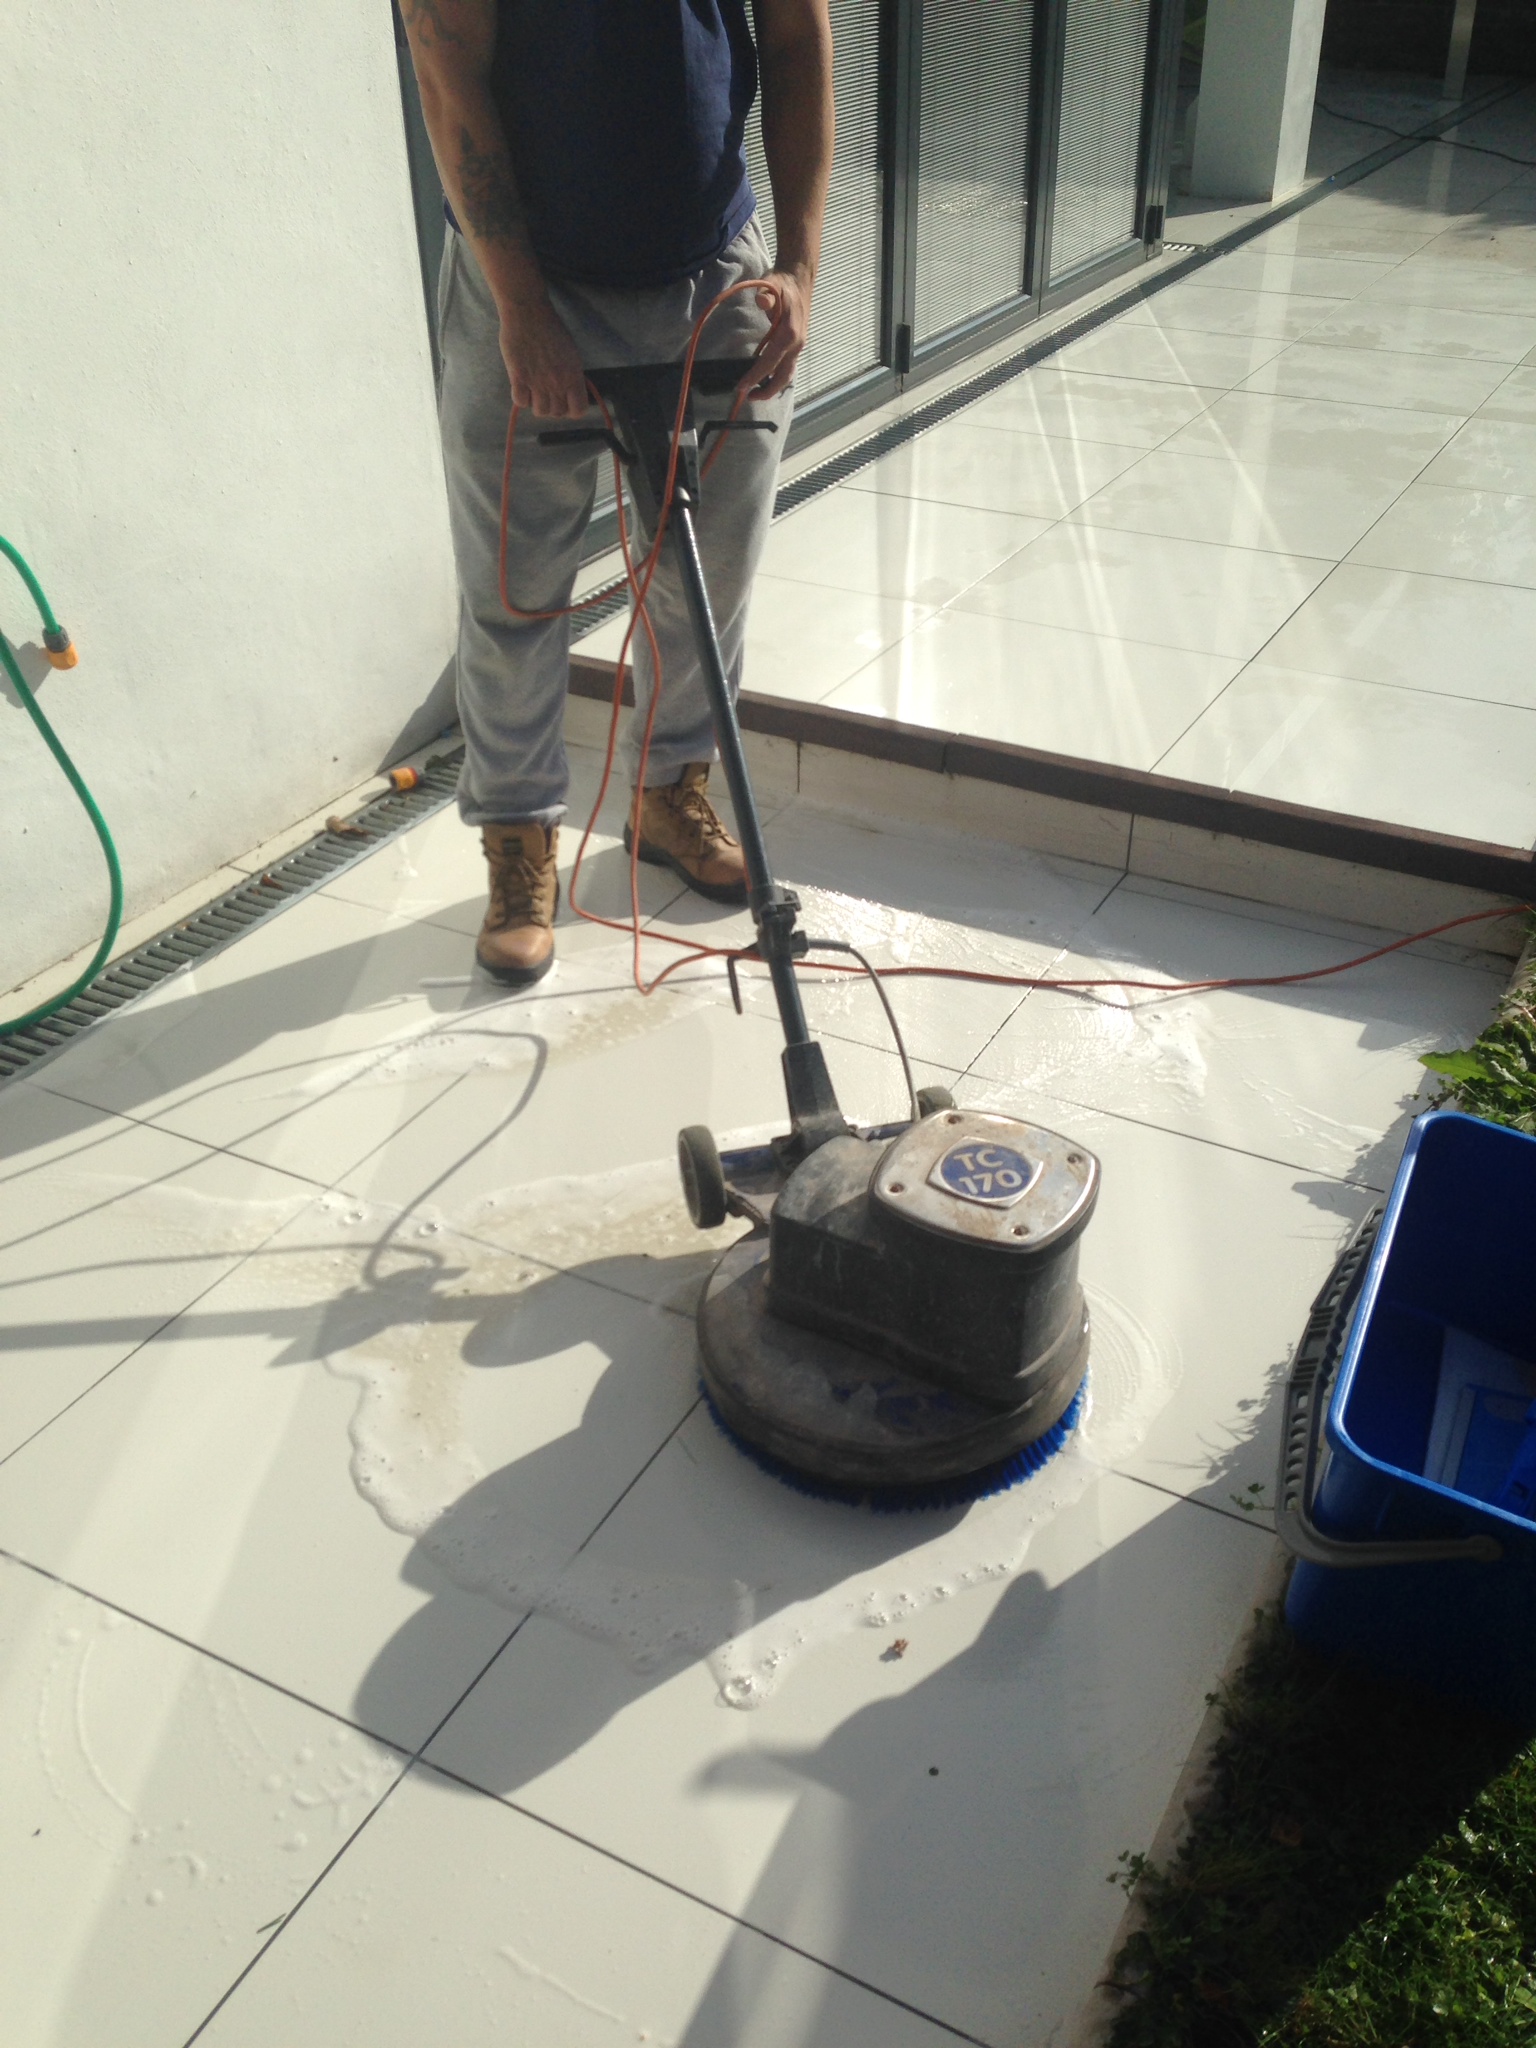
When applying this treatment it is vital that you follow all the guidelines and times for the different types of stone. It is a 3 stage application, the first is the primer which is mixed 4 : 1 which we scrubbed into small areas of about 6m2 at a time, when scrubbing we used a brush head on our rotary scrubbing machine which has the added advantage of cleaning the tiles.

Shiny Slippery Porcelain Tiles in Ashtead26
After about 5 minutes of scrubbing using a scrubbing pad we then vacuumed it all and left the tiles to dry and because we were outside in the sun it didn’t take long to dry. The next stage is to apply the Antislip treatment and for this we used a flat mop and for these type of tiles we needed to leave it to dwell for between 3 and 5 minutes, but we had to make sure that it did not dry in.

After the dwell time the 3rd stage is to scrub in another solution of the primer, but this time it locks in the Antislip. When you are scrubbing this stage you can feel the treatment working. Once we have completed this stage we vacuum it all up then rinse the area with fresh water to remove any residues.

Applying Anti Slip to Shiny Slippery Porcelain Tiles in Ashtead33
The complete area was around 50m2 and luckily the treatment package covered this area. In all the application took two of us around five hours to complete and after clearing our equipment away we then put all the garden furniture back in place.

We returned the next day because the customer also asked us to clean their driveway and the patio area was wet because of rain, but it was great to walk on and I did not slip at all.

Shiny Slippery Porcelain Tiles in Ashtead41
The customer was really happy, because if the treatment hadn’t worked her only other option would have been to rip up the tiles and replace them at a cost of thousands and to make things even better for her, this treatment will last around 4 years before she needs to have it re-applied.

Preventing slips and trips on shiny porcelain patio tiles

Applying Ant-Slip to a shiny Porcelain Patio Read More »

Cleaning Porcelain Car Showroom Weybridge Before

Porcelain tile cleaning in a Car Showroom, Weybridge

We were asked to visit a prestige car showroom near Weybridge in surrey to see what could be done to improve the appearance of the Porcelain Tiles in the showroom. As well as foot traffic the floor also had to cope with the rubber from car tyres; naturally they had been cleaning the floor regularly themselves but were not happy with the results.

Cleaning Car Showroom Weybridge Before

Cleaning Porcelain Tiles

Porcelain is quite a durable material that likes ceramics don’t usually need a sealer so we prescribed a Deep Clean was in order and set about scrubbing the floor using Tile Doctor Pro-Clean which is a strong alkaline cleaning product specially designed for use on Tile, Stone and Grout where acidic cleaners can cause damage. The solution was scrubbed in using a rotary machine fitted with a black scrubbing pad and then thoroughly rinsed down. I should point out a wet vacuum machine comes in very handy here for removing the liquids from the floor. When it had dried I buffed it up using a white buffing pad.

It’s difficult to see the improvement from the photographs but I can tell you the owner was really pleased with the result as were some customers who came in when we were finishing up.

Cleaning Porcelain Car Showroom Weybridge After
 

Cleaning Porcelain tiles at a prestige car showroom in Weybridge

Porcelain tile cleaning in a Car Showroom, Weybridge Read More »

Black Porcelain Floor after photo

Putting the Shine Back on Black Porcelain Floor Tiles

We were asked to clean and seal these black Porcelain floor tiles that had been laid in a bridal shop in the Lakeside shopping centre. The shop fitters and builders had been in to setup the internal layout and the floor was looking dull and not in a presentable state good enough for the shop opening.

Black Porcelain Floor Before Photo

Cleaning black Porcelain floor tiles

We set about scrubbing the floor using a dilution of Tile Doctor Pro-Clean Tile and Grout cleaner followed by a thorough rinse. We then waited for it to dry before buffing the porcelain tile surface to a deep shine with a white buffing pad.

The floor was ready for sealing so we applied Tile Doctor Ultra Seal to a small test area but it didn’t take, not wishing to waste our time or the customers’ money we called it a day. Most porcelain tiles won’t take a sealer however some are micro porous and do need sealing so it’s always best to check.

Black Porcelain Floor After Photo
They were really pleased with result and they were even happier we were honest about not charging them for not sealing the floor; the deep shine on the floor really did look spectacular.

Black Porcelain Floor Photo
 

Restoring the Shine on Black Porcelain Floor Tiles

Putting the Shine Back on Black Porcelain Floor Tiles Read More »

=================================

South London Tile Doctor

================================= Read More »

Scroll to Top